

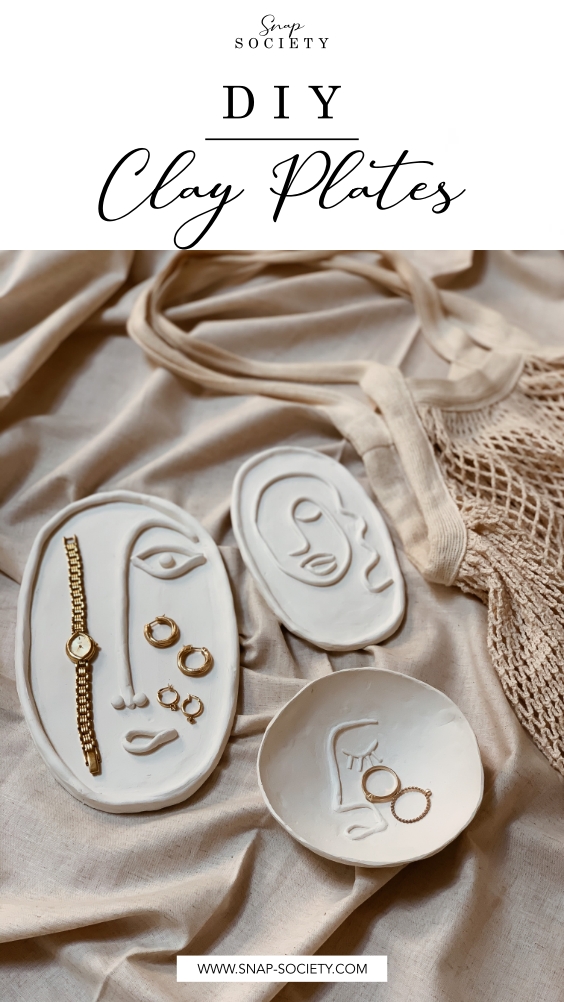
EN: I recently saw clay plates like this on Pinterest which you could buy on Etsy. Since I’m stuck home like pretty much everyone I thought why not make them myself?! Also, it’s super easy and I love DIY’s so it was a no-brainer. I love how they turned out so I HAD to share this DIY Tutorial on how to make these clay plates with you!
If you decide to give it a try, I would love for you to share your clay project on Instagram or Facebook using the hashtag #TheClayClan so I can see all your beautiful creations and also share them with my audience!
DE: Ich habe neulich auf Pinterest solche Lehmteller entdeckt, die man auf Etsy kaufen kann. Da ich aber wie vermutlich & hoffentlich die meisten zu Hause “fest sitze”, dachte ich, warum nicht selber machen?! Zu mal es auch super einfach ist und ich natürlich DIY’s liebe! Da ich das Ergebnis so unfassbar schön finde und mega happy damit bin, musste ich einfach eine Anleitung, wie man diese Lehmteller macht, hier teilen. Probier es doch mal aus, es nimmt dir sicherlich die Langeweile!
Übrigens würde ich mega freuen, wenn du dein Ergebnis auf Instagram oder Facebook teilst und den Hashtag #TheClayClan verwendest, damit ich alle DIY’s sehen kann und auch mit meinem Publikum teilen kann!
WHAT YOU’LL NEED // WAS DU BRAUCHST
♦ Clay (I got mine from Spotlight, but you can order it from Amazon for example) // Lehm (gibt’s hier)
♦ Wooden Underlay (I used an old cutting board) // Holzunterlage (Ich habe ein altes Schneidebrett benutzt)
♦ Water // Wasser
♦ Rolling pin (I used a bottle) // Nudelholz (Ich habe eine Flasche verwendet)
♦ Thin brush // Dünnen Pinsel
♦ Boxcutter // Cuttermesser
HOW TO // SO GEHT’S
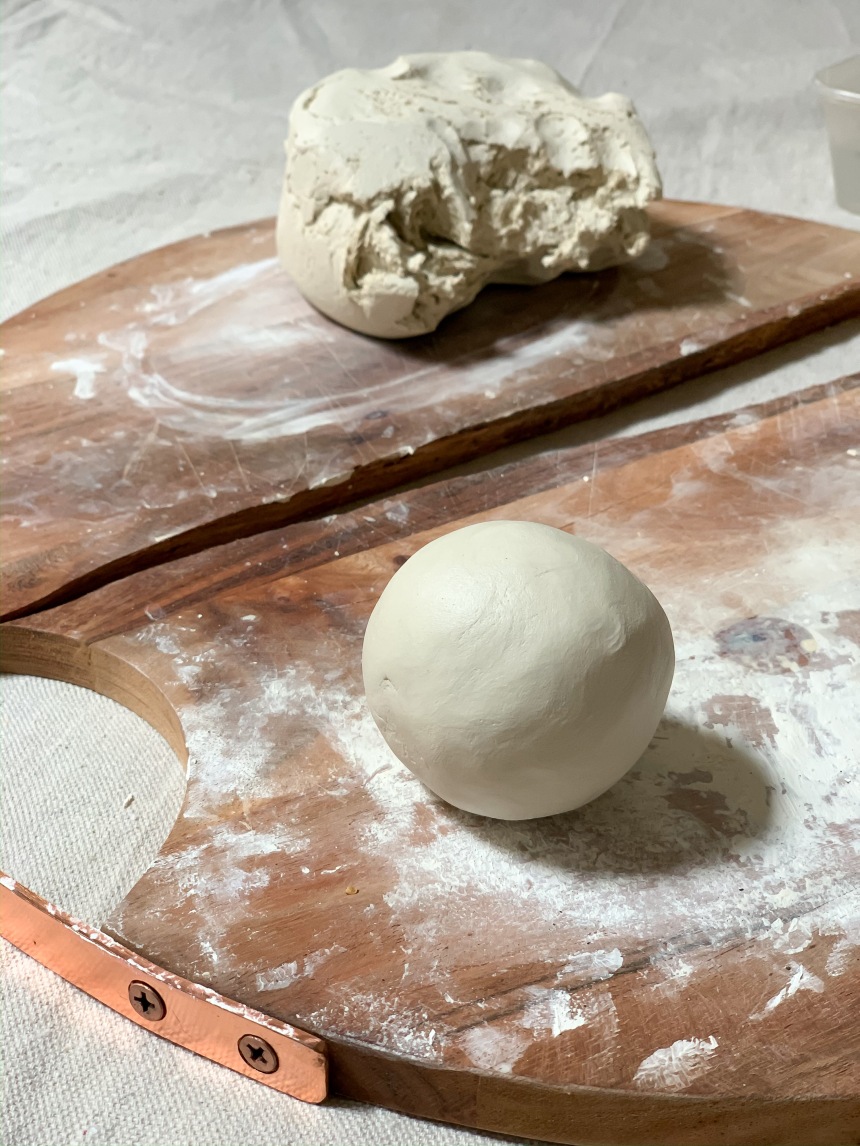
- Form a ball and roll it out with your rolling pin. // Forme einen Ball und rolle ihn mit deinem Nudelholz aus.

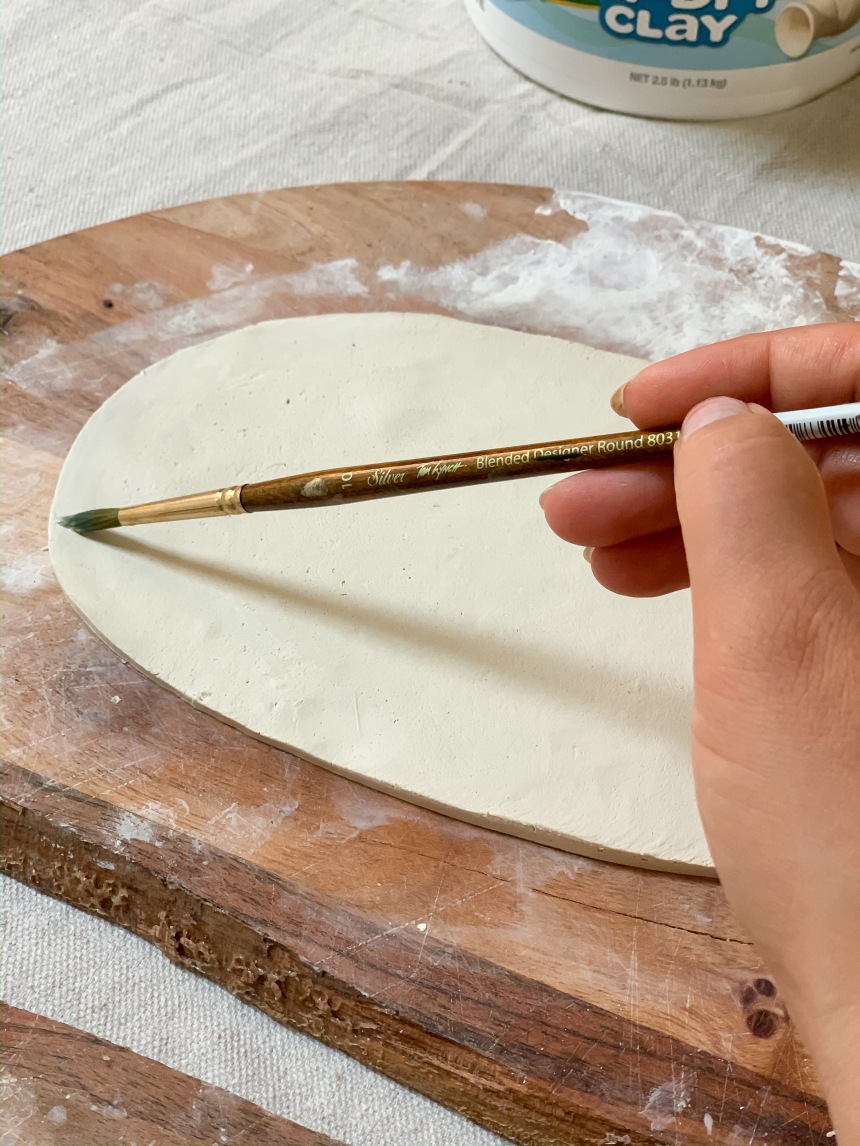
- Cut the shape you like for your plate into your clay using the boxcutter. // Schneide mit dem Cuttermesser die Form, die du für deinen Teller haben möchtest, in die Modelliermasse.

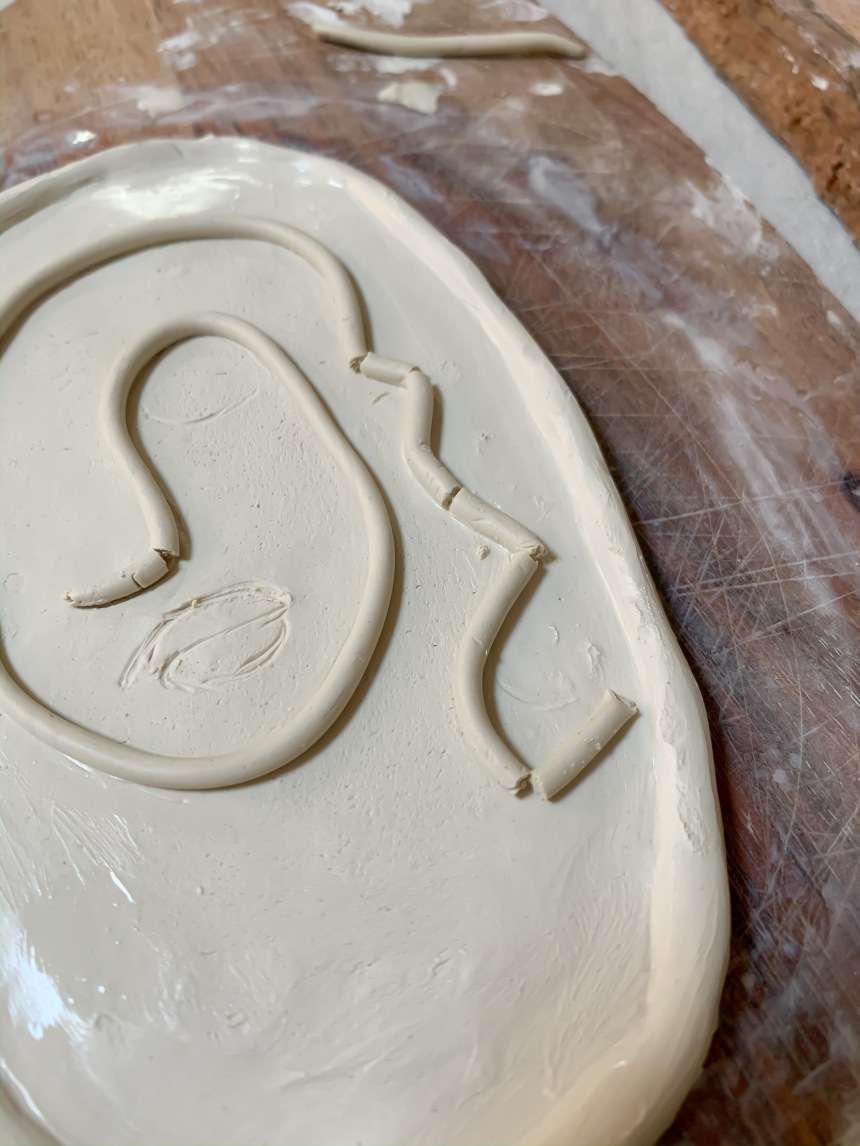
- Form another (smaller) ball and make a snake, long enough so it goes all the way around your plate. // Forme einen weiteren (kleineren) Ball und mache eine Schlange daraus, lang genug sodass es einmal um deinen Teller geht.


- Using your brush, water the edges of your plate. This is where you’re going to attach the snake. // Feuchte den äußere Rand deines Tellers mit dem Pinsel an. Dort wird die Schlange mit dem Teller verbunden.
- Then place the snake around your plate and blend the together using your fingers. // Lege anschließend die Schlange um den Teller und verschmelze beide zusammen mit deinen Fingern.

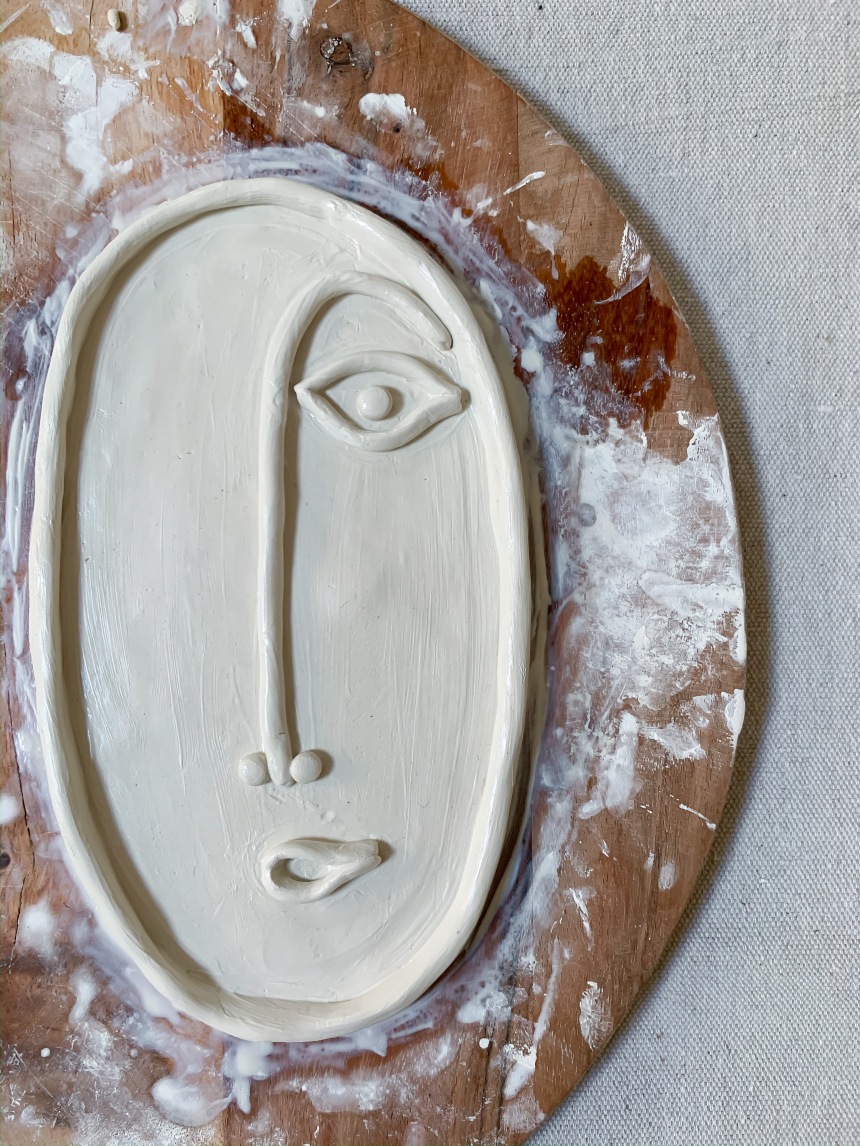
- Now you form the picture you want on your plate. I made these faces so I formed a few more snakes ad little balls and shaped the face with them. // Jetzt formst du das Bild, was du auf deinem Teller haben möchtest. Ich habe diese Gesichter gemacht und habe daher ein paar weitere Schlangen und kleine Bällchen geformt.


- Don’t forget to wet the parts where you attach your other pieces and blend them together. This makes them stick together. // Befeuchte jedes Mal die Bereiche, wo du weitere Teile mit dem Teller verbinden willst. Das hält das Ganze zusammen.

- Once you’ve finished, allow your plates to dry for 2-3 days. You may as well dry them in the oven. Place them on a tray in a cold oven and let dry for about an hour on lowest heat. // Nachdem du mit dem Dekorieren deines Tellers fertig bist, lasse ihn 2-3 Tage trocknen. Du kannst ihn aber auch im Ofen trocknen. Platziere dazu deinen Teller auf einem Backblech im kalten Ofen und trockne ihn dann bei niedrigster Stufe für ca. 1 Stunde.
- Don’t worry if parts like really thin snakes break. Just wet a bit of clay until it’s more like a thick paste and fill those gabs. // Keine Sorge falls Teile wie beispielsweise dünne Schlangen brechen. Feuchte etwas Lehm an, bis es eine dickflüssige Masse ist und fülle die Löcher damit auf.
- You can also make bowls, doing the same steps as before. Don’t forget to seal your creations with Mod Podge (a water-based all-in-one sealer, glue and finish) to protect them from water. // Nach dem selben Prinzip kannst du auch Schälchen machen. Vergiss nicht deine Werke mit Mod Podge (ein wasser-basierter Versiegler, Kleber und Lack) zu versiegeln, um es vor Feuchtigkeit zu schützen.


Hi,
I love this!
How many clay do you need for 3 plates?
Did you use Mod podge gloss or mat?
Thank you
LikeLike
Hey there! It’s hard to say because it depends on the size you’re making and also how thick you want the plates to be. I got 1 kg and still had lots of clay left. I use matte mod podge 🙂
LikeLike
Thank you! 🙂
LikeLiked by 1 person
You’re welcome girl ☺️
LikeLike
Is it necessary to varnish them once finished? Thanks!
LikeLike
Not necessarily, just make sure they don’t get wet as the clay will become soft again.
LikeLike
Hi, what type of clay do you use? 😊 Also, have you tried coloring clays? What paint should I use? 🤔 Thanks!! Love your work 🥰
LikeLike
Hey, I just used the Crayola Air Dry Clay (linked it in the post). I haven’t tried coloring them yet but I wanted to, so I’m gonna use acrylic paint and then mod podge 🙂
LikeLike
Hey, Thanks for that, I love it!
So, let me check if I got it right: The oven baking doesn’t prevent it from getting soft if wet?
Do you recommend any material that can be oven baked at home and can be cleaned or wet?
I am asking because I would love to create things at home but I find incredibly hard to get pieces in a professional oven in London without spending a little fortune ;(
At the same time, don’t know how people would feel if I sell something that ruins when wet… (in case I want to sell them) Any tips?
LikeLike
I’m not sure if there’s anything that will resist water without getting fired. If you’d like to be able to wash them, I’m afraid you’d have to get them bisque fired, then glaze and get them fired again. It’s a bit of a pain 😦
LikeLike
Hi!
Do we allow the clay to dry before applying the layer of mod Podge?
LikeLike
Yes, let it dry first then apply podge 🙂
LikeLike
Is Oven dry compulsory or can we just air dry them
LikeLike
Just air dry 🙂
LikeLike
Hi!! if I wanted to paint them would I do so before or after applying the modpodge?xxx
LikeLike
I would paint and then apply modpodge as it serves as a protection 🙂
LikeLike