
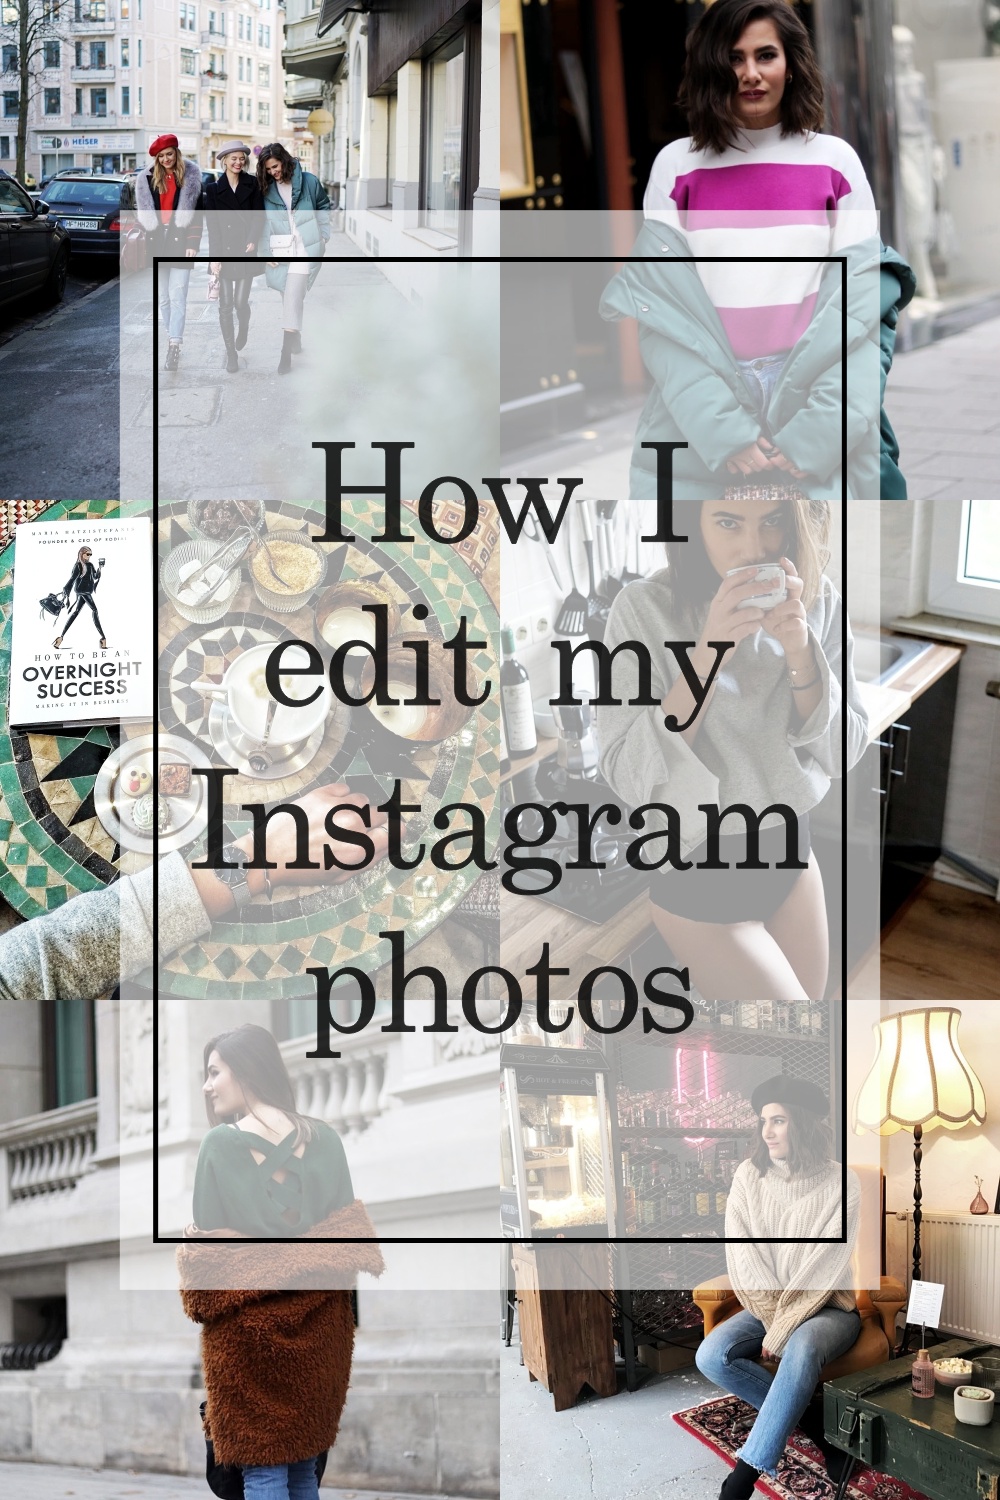
I know, I know.. there are plenty of tutorials on how people edit their Instagram photos. And now – here’s another one! 😀 So, why should you keep on reading then? Well, as much as I love checking out how others edit their photos, I’ve missed one little thing – how do they take photos with no freaking, annoying people in the background?? I mean, do they go to places at 4 am just to take that perfect photo?? Unfortunately, the answer is yes. But – not always! Sometimes, a little editing will do its magic too! Just to make it clear – we’re not gonna remove the crowds at the Time Square (which is possible too, but it’s way too much work and I want to start slow with ya people). Im talking about individual things or people that are distractive.
So, I chose this picture my friend took of me in Mexico three months ago. Me, chillin’ on that palm tree like its the most normal thing I’ve ever done, enjoying the view and the silence and – most important – trying not to fall off this damn tree!
How to do it:
The app: Snapseed
How to: Click on ‘Tools’ and open ‘Tune Image’. I played around with the brightness, contrast and shadows until I liked the result.
Brightness: +41
Contrast: +48
Shadows: -11


Then I increase the picture sharpness by opening ‘Tools’ again and then ‘Details’.
Sharpness: +25

Last but not least: removing people and things in the background. I choose the tool “Spot Repair” and zoom in just a tiny little bit. Then I just touch whatever I’d like to remove from my photo. Voilá, it disappears! Depending on the picture and what’s all happening in the background, it might not look perfect at the first try. Don’t give up, you’ll need a little bit of practice with this one. If you don’t like the result, go back and zoom in a little bit more and try it again. You’ll see the difference. As I said, this will need a little practice but once you’ve figured out how it works – it’s a life saver! Well, lets be less dramatic but it will definitely make your photo look less busy.

 Then, I save the photo and open it up again in the VSCO app.
The app: VSCO
How to: I use the filter C1 and set it on +6,4

That’s it, save to gallery! As you can see, it’s quite simple to edit your photos. Finding your theme is much catchier 😉
Here’s the before and after picture:

How do you edit your photos and what app do you use? Looking forward to your tips!
